Introduction
Many people need a transcription tool because working with audio and video content by hand takes too much time. If you need to review interviews, meetings, lectures, podcasts, or videos, it can be hard to catch every detail just by listening again and again. It is also not easy to turn spoken content into clear text that you can search, edit, save, or share later.
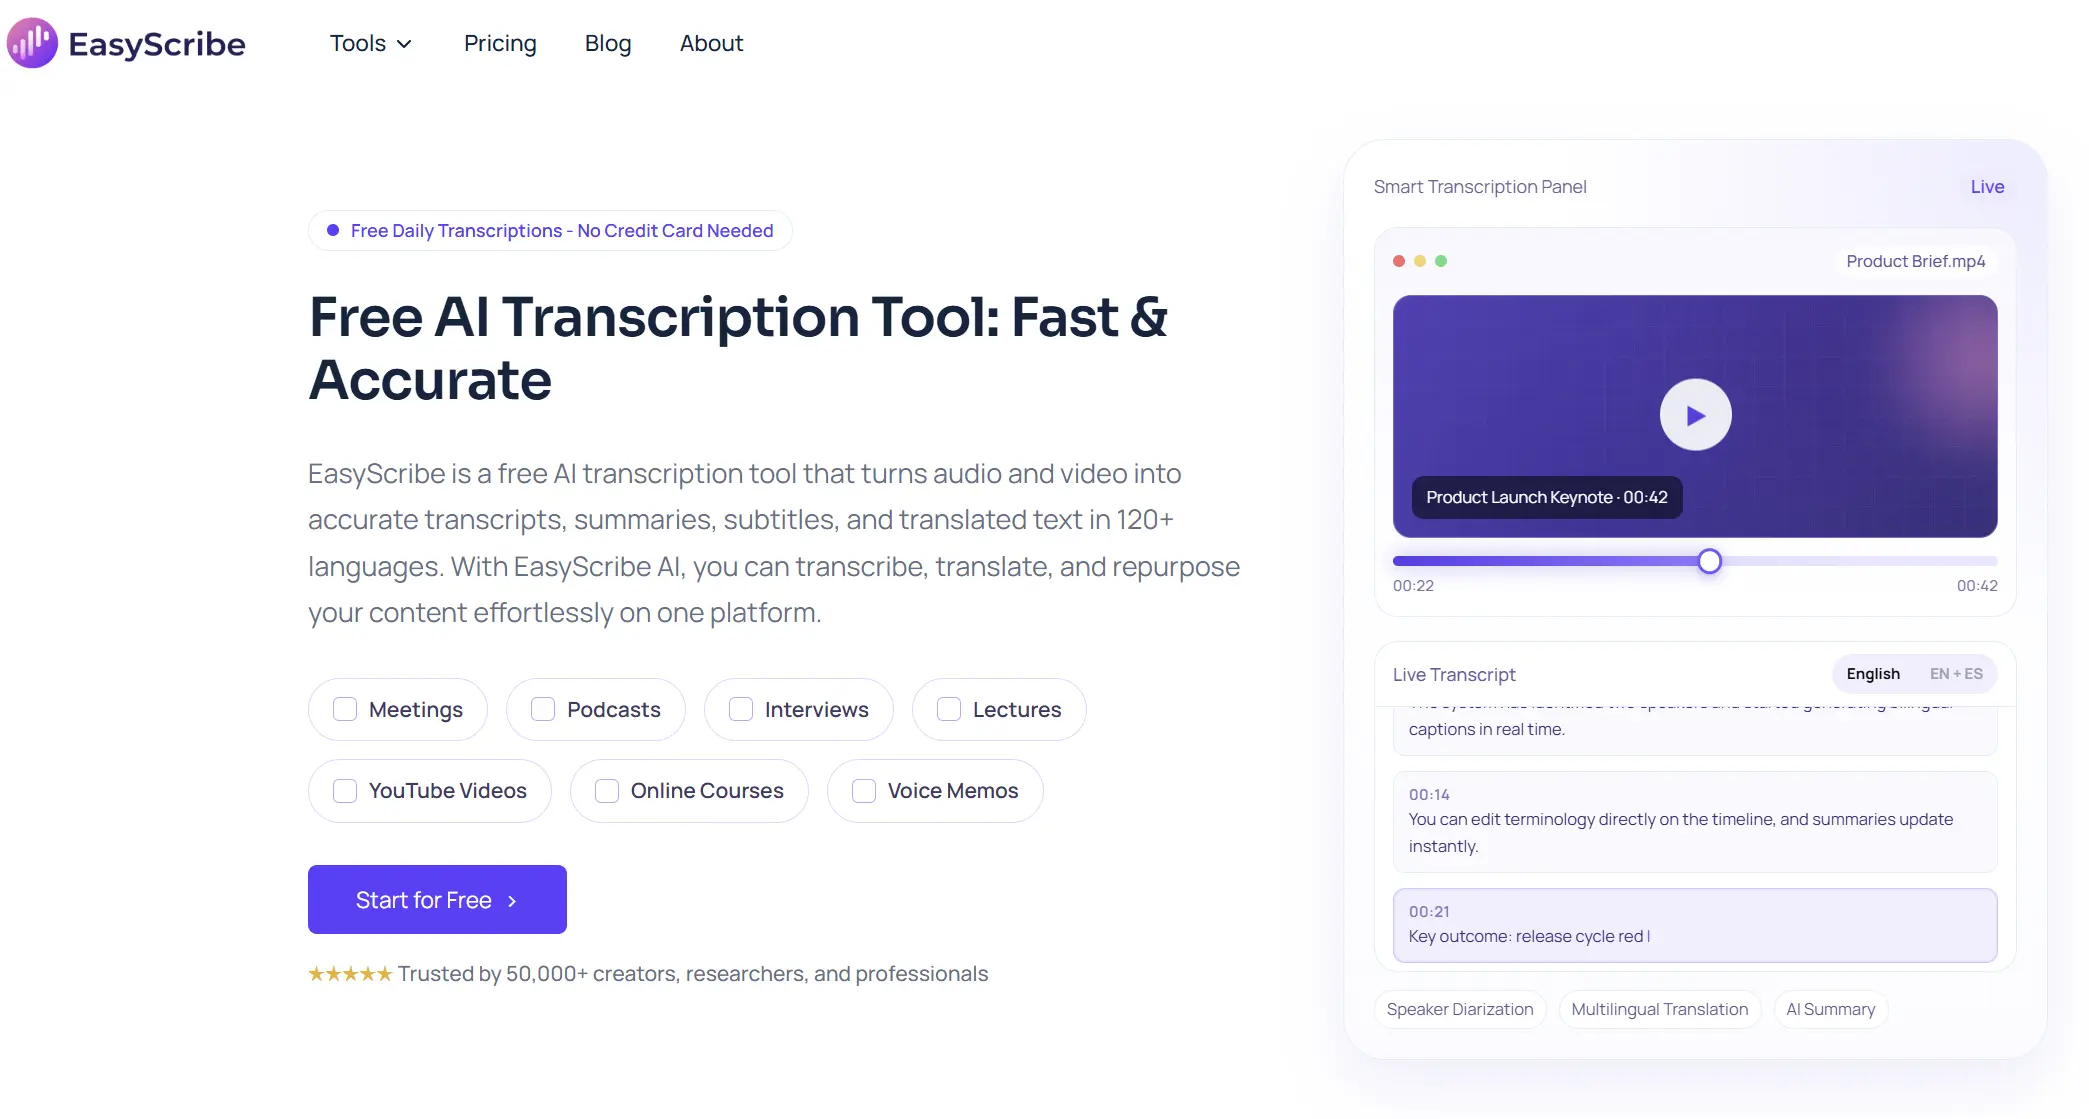
That is exactly the kind of problem EasyScribe is built to solve. EasyScribe is an AI transcription tool designed to help users turn audio and video into accurate transcripts more easily. It can help you transcribe recordings, review and edit text, generate useful summaries, and prepare content for export or sharing.
In this user guide, we will walk you through the process step by step, so you can learn how to use EasyScribe to turn your audio or video content into accurate text with less effort.
Before You Start
Before you begin, there are a few things to prepare. This will help you start faster and avoid small problems during the transcription process.
1. Sign in to your account
You need to sign in before you can use EasyScribe for transcription. There are two simple ways to log in.
You can sign in directly with your Google account for quick access. You can also log in with your email address. If you choose email login, EasyScribe will send a verification code to your inbox, and you can use that code to sign in securely.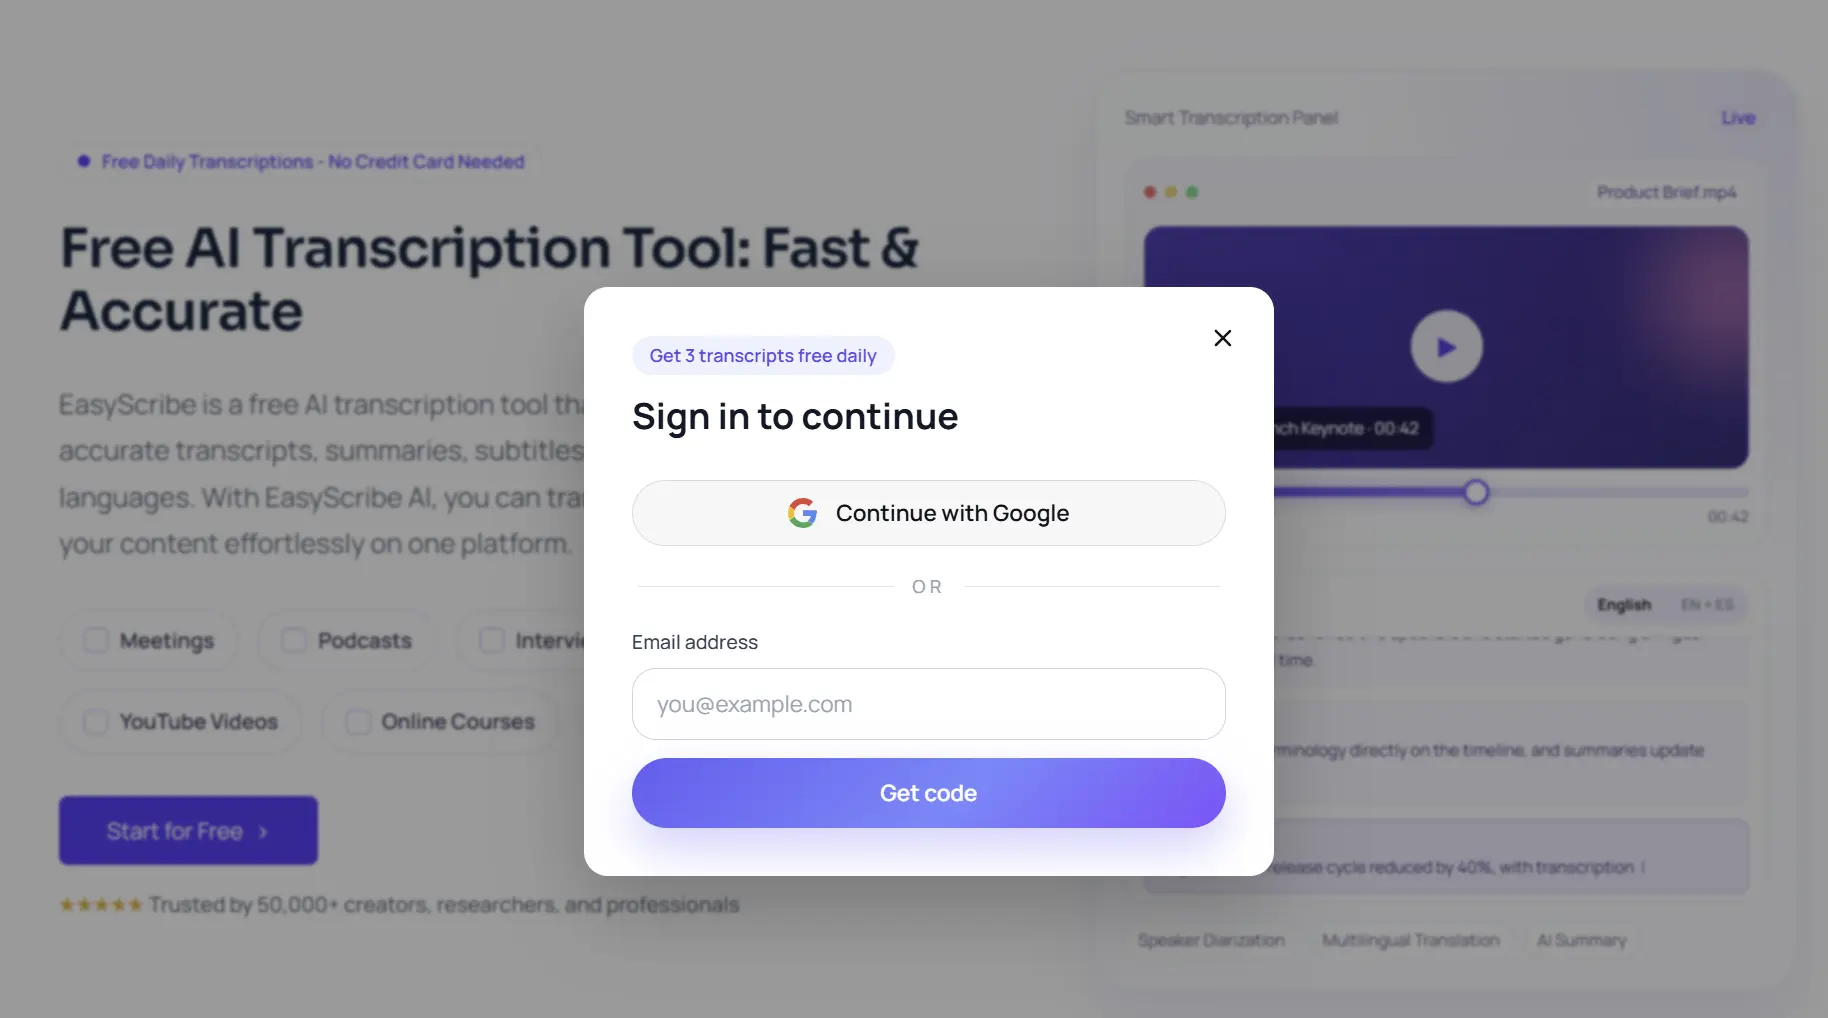
2. Prepare your audio or video file in advance
Before uploading, make sure the audio or video file you want to transcribe is ready on your local device. This will make the process smoother once you enter the workspace.
EasyScribe supports several common file formats, including MP4, MOV, AVI, MKV, MP3, WAV, and M4A. For video files, the maximum supported file size is 2GB per file. If your file is too large, you may need to compress it or split it before uploading.
3. Know the free plan limits before you start
EasyScribe lets you transcribe up to 3 audio or video files for free each day, and each file can be up to 10 minutes long. This is a good way to test the product and see how it works with your content.
If you need more advanced features, paid plans are available. These may include options such as batch transcription, transcript sharing by link, and higher usage limits without daily transcription restrictions. If you want to compare plans and learn more about paid features, you can visit the EasyScribe Pricing page.
Upload Your Audio or Video File
After you sign in, you will enter the main workspace. On the main screen, you will see two options: Video to Script and Audio to Script. Choose the one that matches the type of file you want to transcribe.
Then, click the Choose Files button to upload your file from your device. If you prefer, you can also drag and drop the file directly into the workspace. Once the file is added, EasyScribe will get it ready for the next step.
Set Up Your Transcription Options
After uploading your file, you can adjust a few settings before starting transcription. These options help you get a result that better matches your needs.
First, you can choose the Source Language of your audio or video. If needed, you can also select a target language for translation. This is useful when you want to turn the transcript into another language after transcription.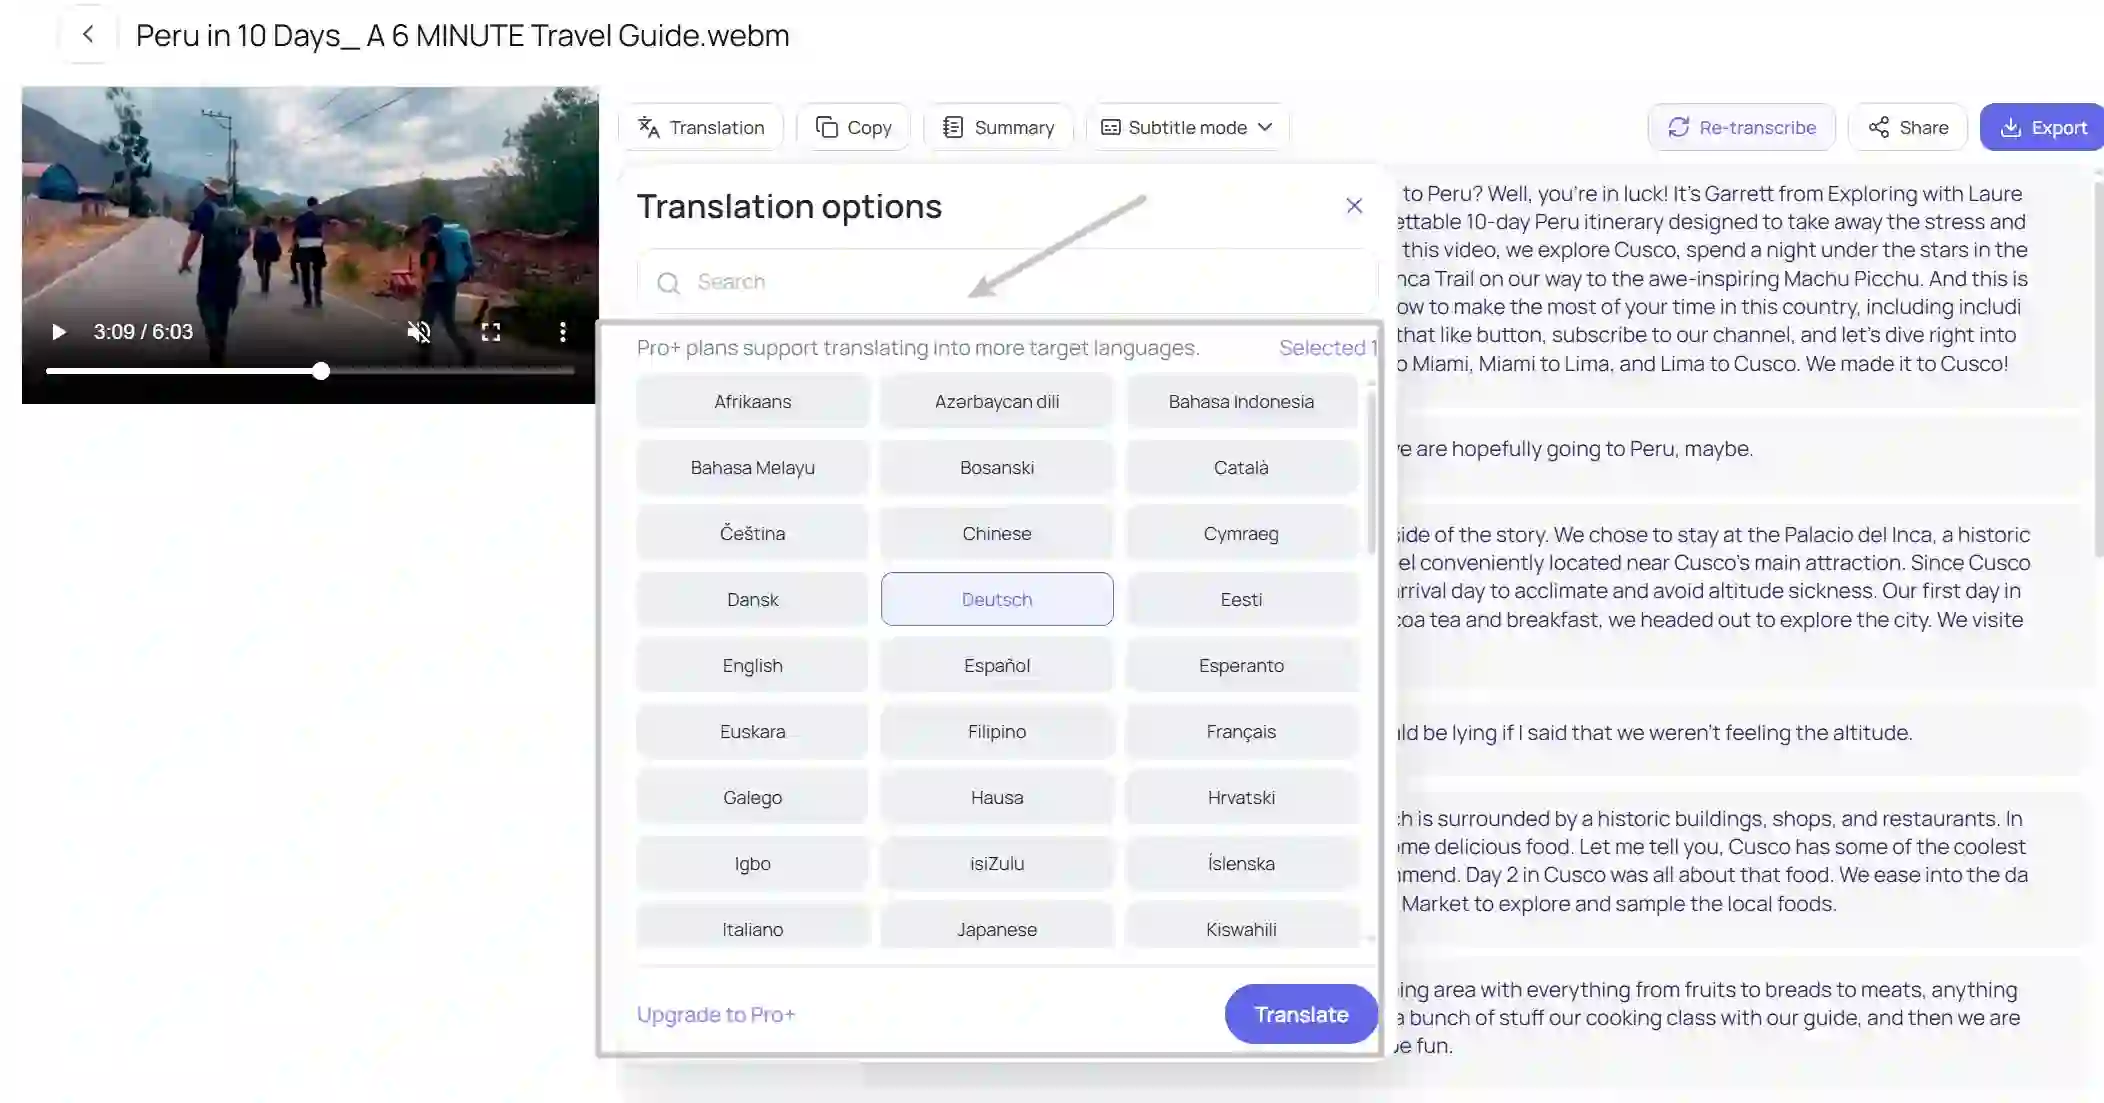
There are also some advanced options available, but they are part of the Pro version. These include Batch Upload, Accuracy, and Speaker Recognition. If you are using the free version, these options will not be available.
Generate Your Transcript
Once everything is set up, click the Start button to begin transcription. While your file is being uploaded, EasyScribe will also start processing it at the same time. This helps save time, especially for shorter files.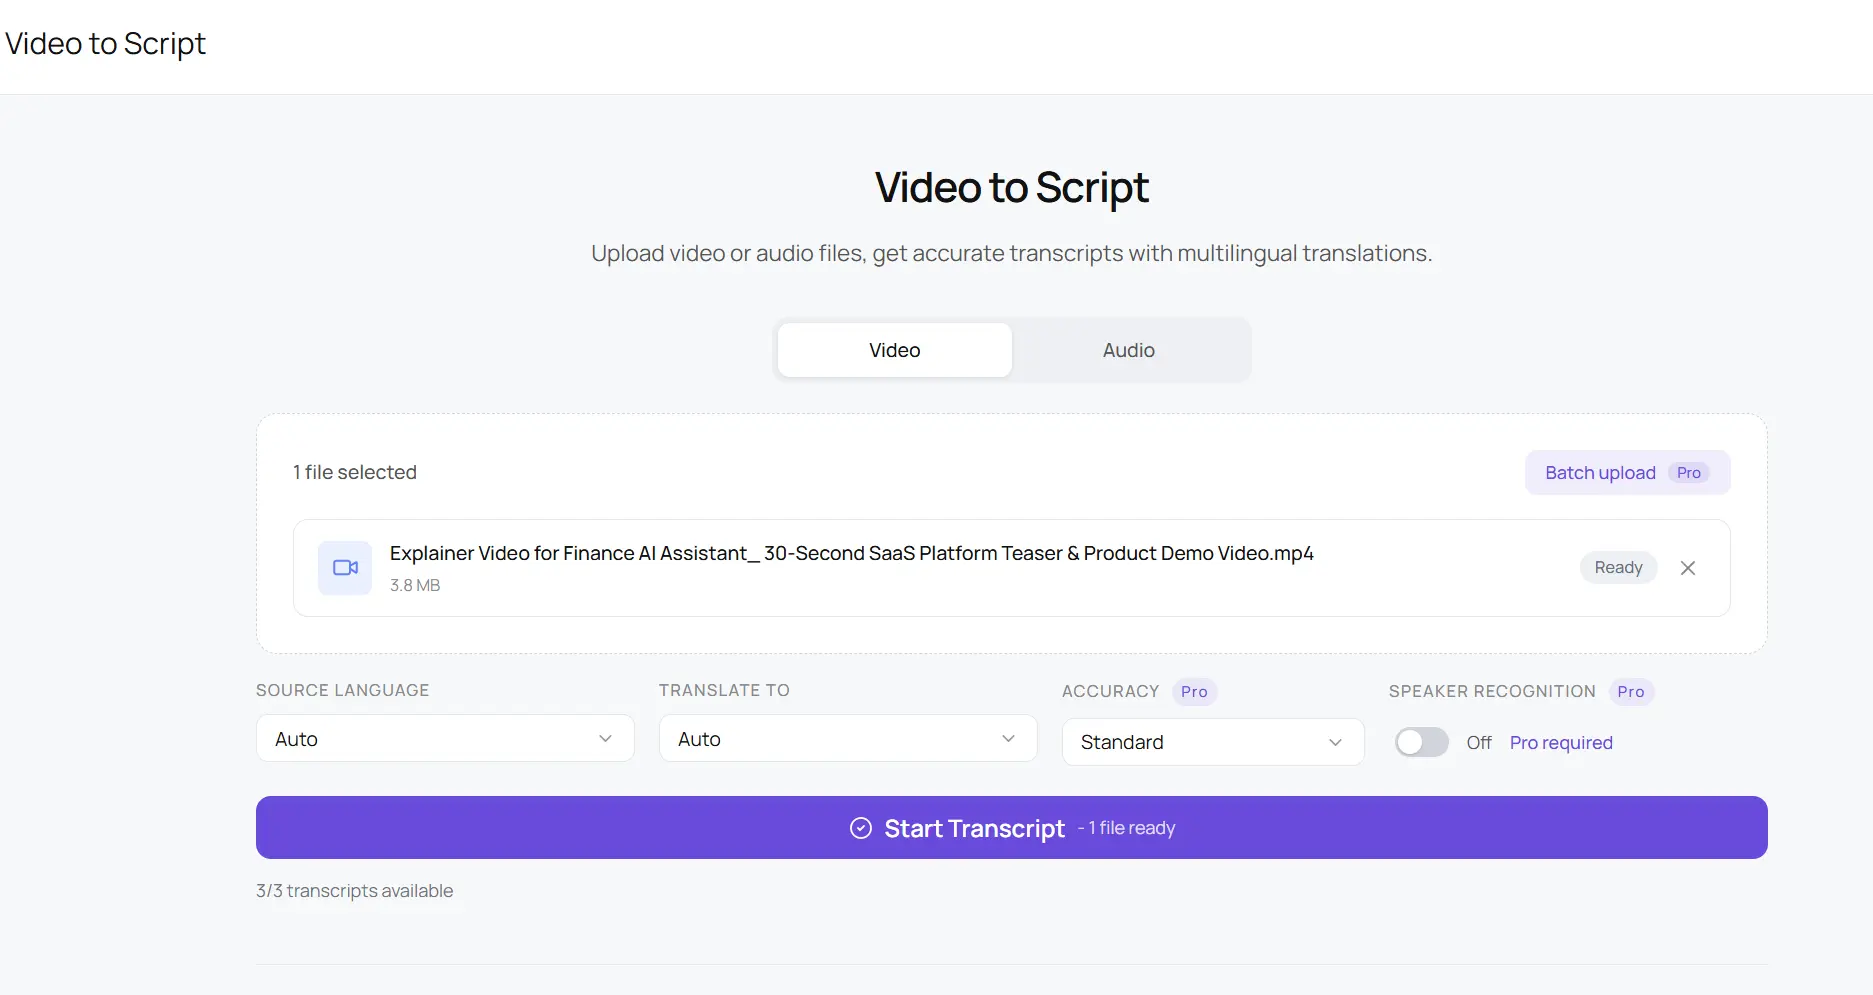
If your audio or video is short, the transcript is usually ready quite quickly. For larger files, you may need to wait a little longer, but the full process is often finished within a few minutes. When the transcription is complete, EasyScribe will automatically take you to the transcript preview and editing page.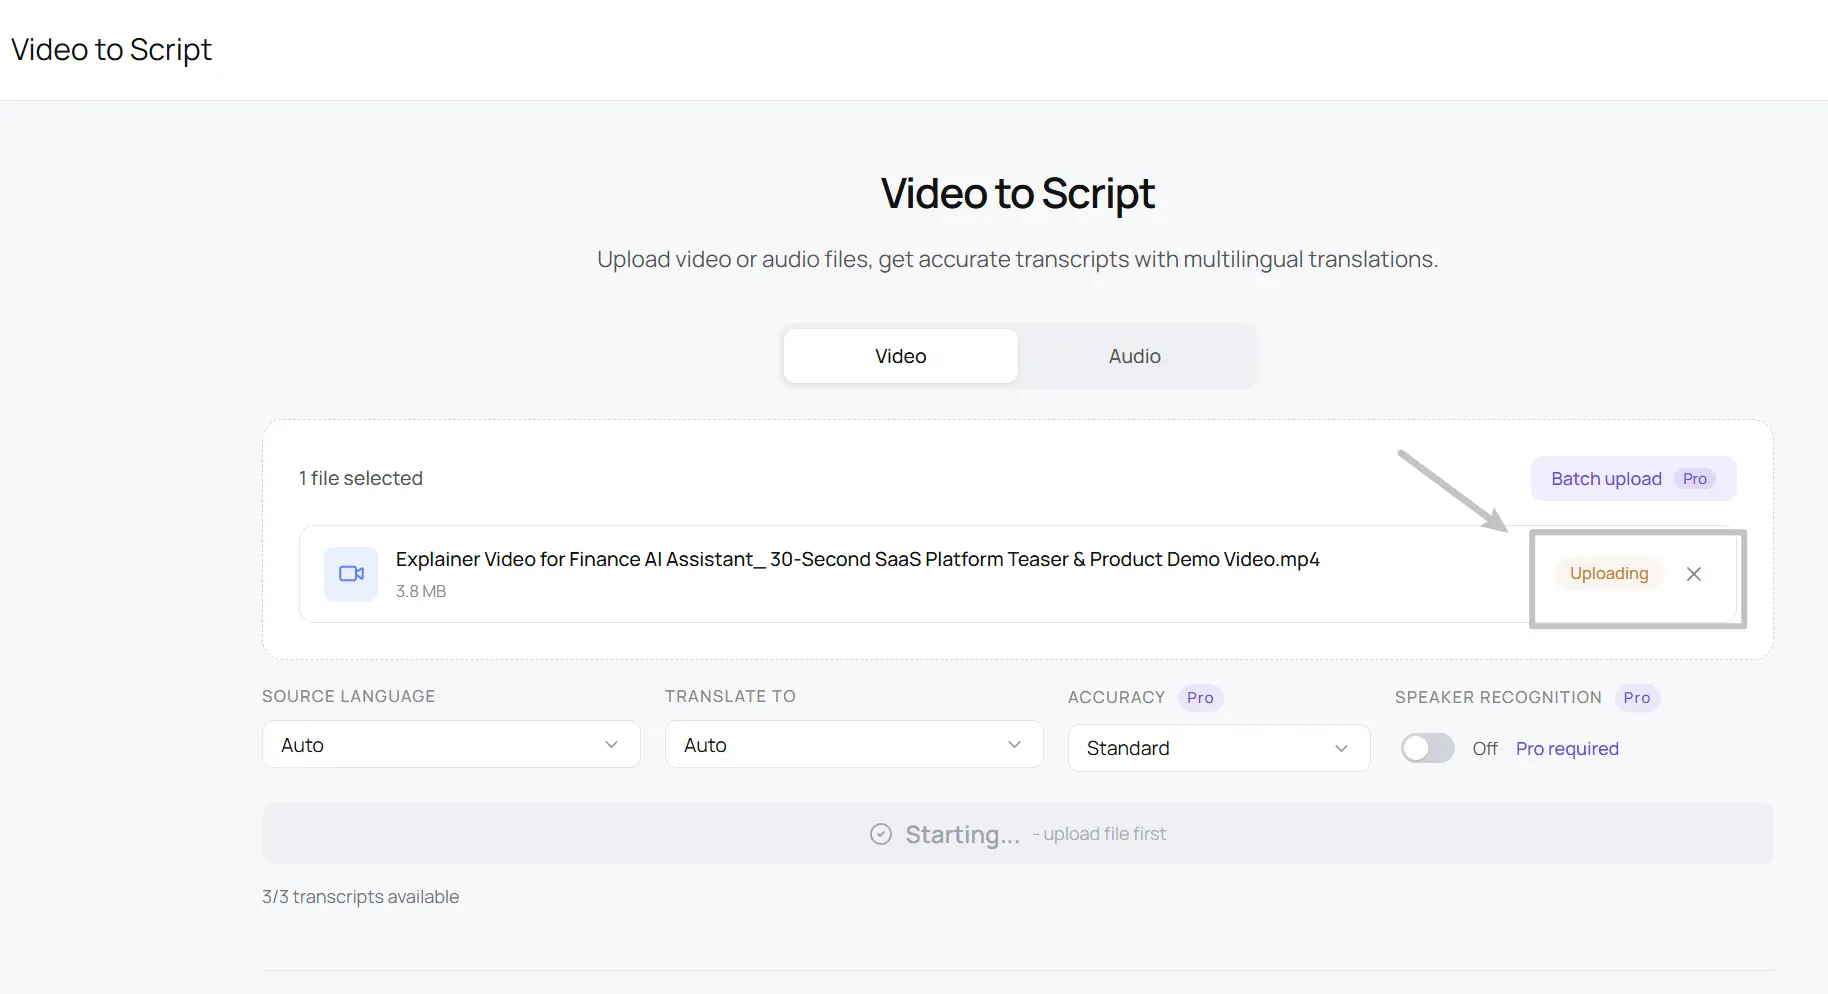
Review and Edit the Transcript
On the preview and editing page, you can check the transcript while reviewing the original content. In the top-left corner, there is a video preview window. You can play the video there to compare the spoken content with the transcript and make sure everything looks right.
On the right side of the screen, you will see the transcript itself. EasyScribe usually offers two viewing modes: Subtitle mode and Transcript mode.
Subtitle mode shows the transcript with timestamps. This is helpful if you want to review the text line by line or edit content for subtitles.
Transcript mode shows the full transcript as plain text without speaker labels or timestamps. This works better when you want to turn the content into a blog draft, article, notes, or a clean written script.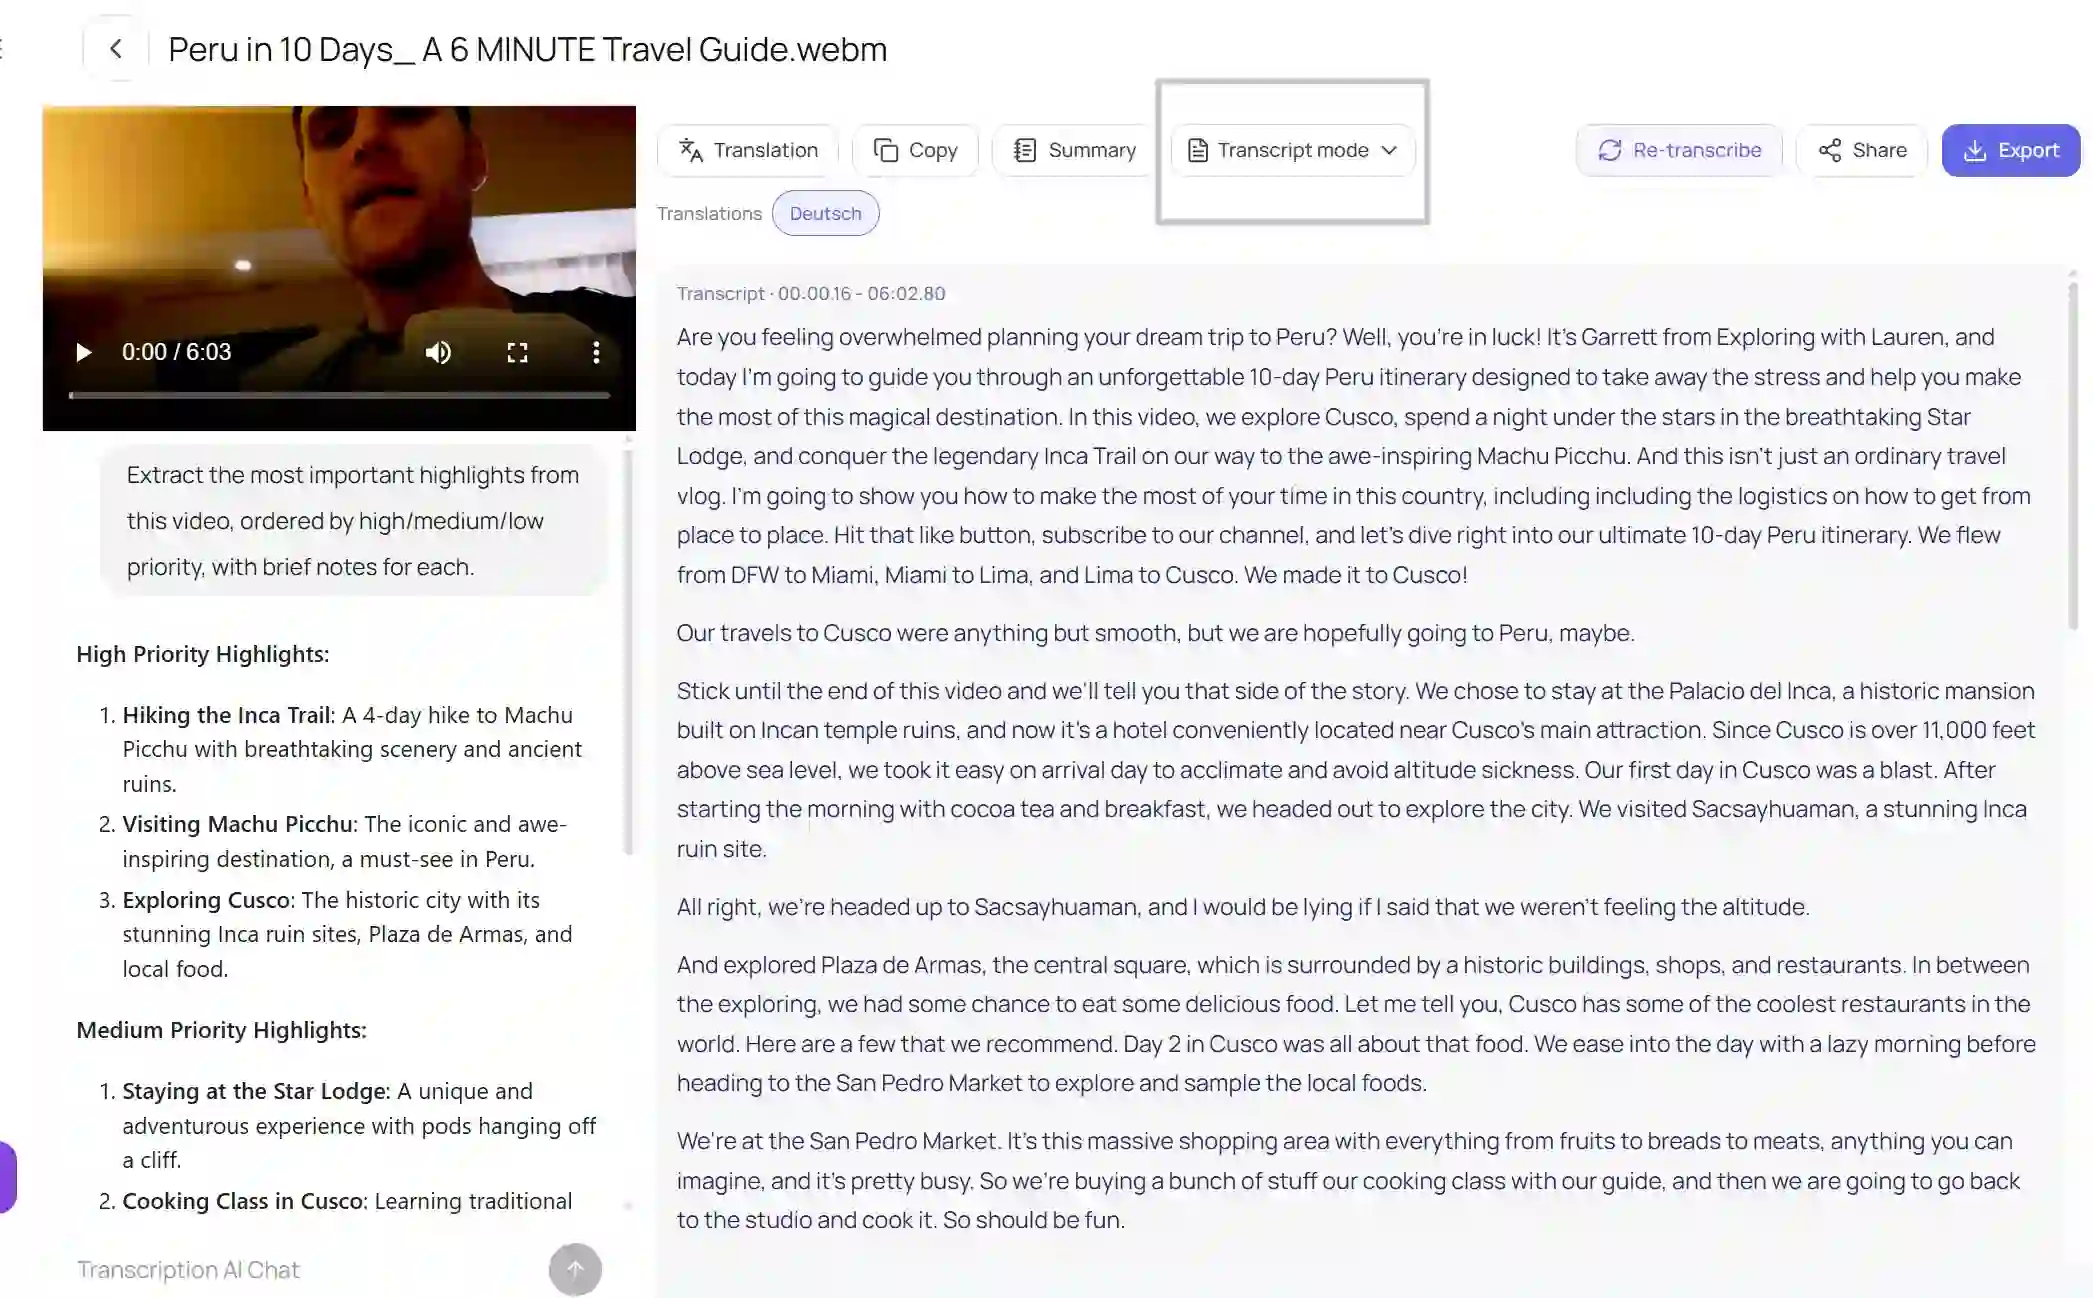
Editing is also very simple. Just click on the text you want to change, and you can edit it directly in the workspace.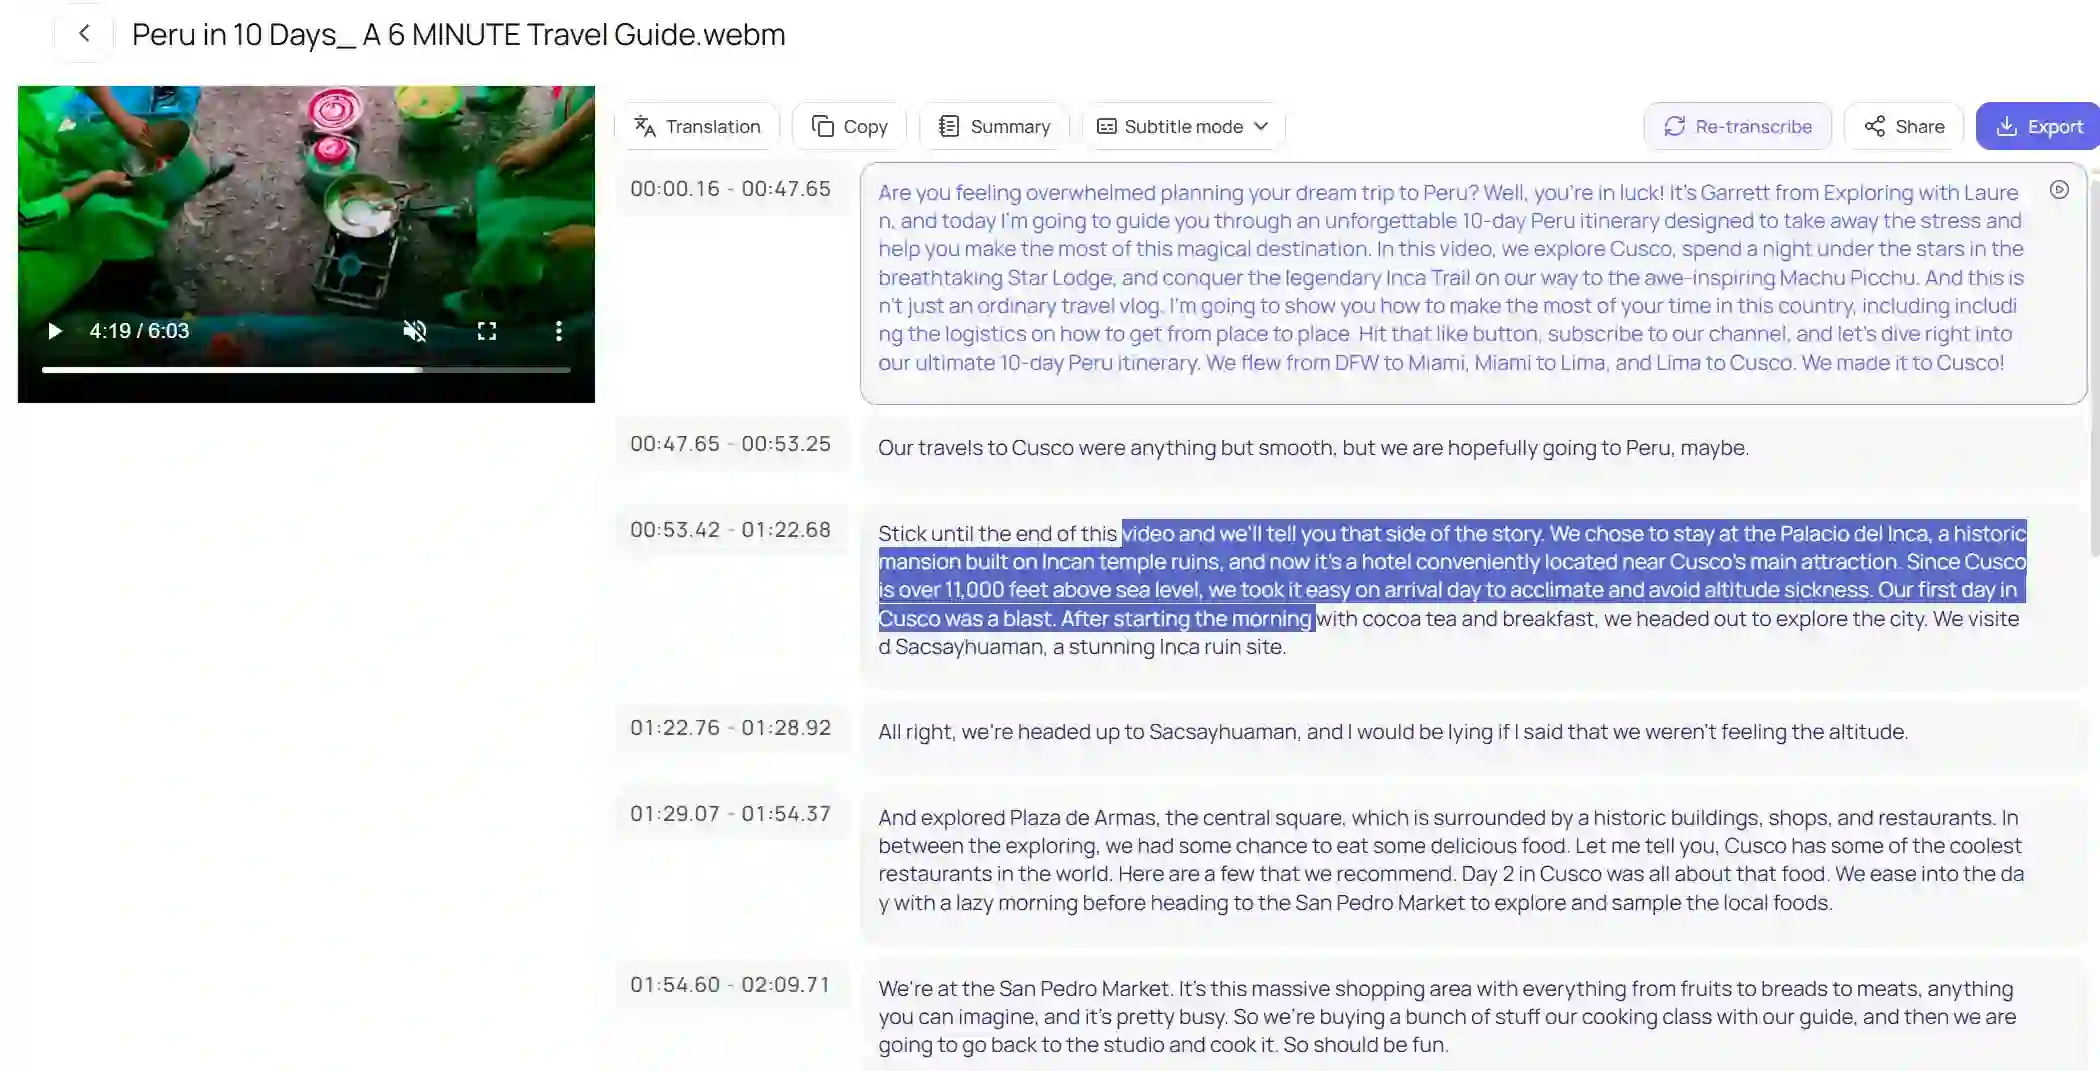
Translate the Transcript into Other Languages
EasyScribe also supports translating one transcript into multiple target languages at the same time. This means you do not need to translate the same transcript one language at a time. If you want to create several language versions, you can simply select multiple target languages first, then click the Translate button to start the translation process.
This is a paid feature, so it is only available to paid users. Once the translation is finished, you can view multiple translated versions from the main interface, which makes it much easier to manage multilingual content in one place.
Create Summaries and Notes with AI
If you are working with online courses, meetings, or podcasts, you may not always want to read the full transcript from beginning to end. In that case, the Summary feature can help you get the key points much faster.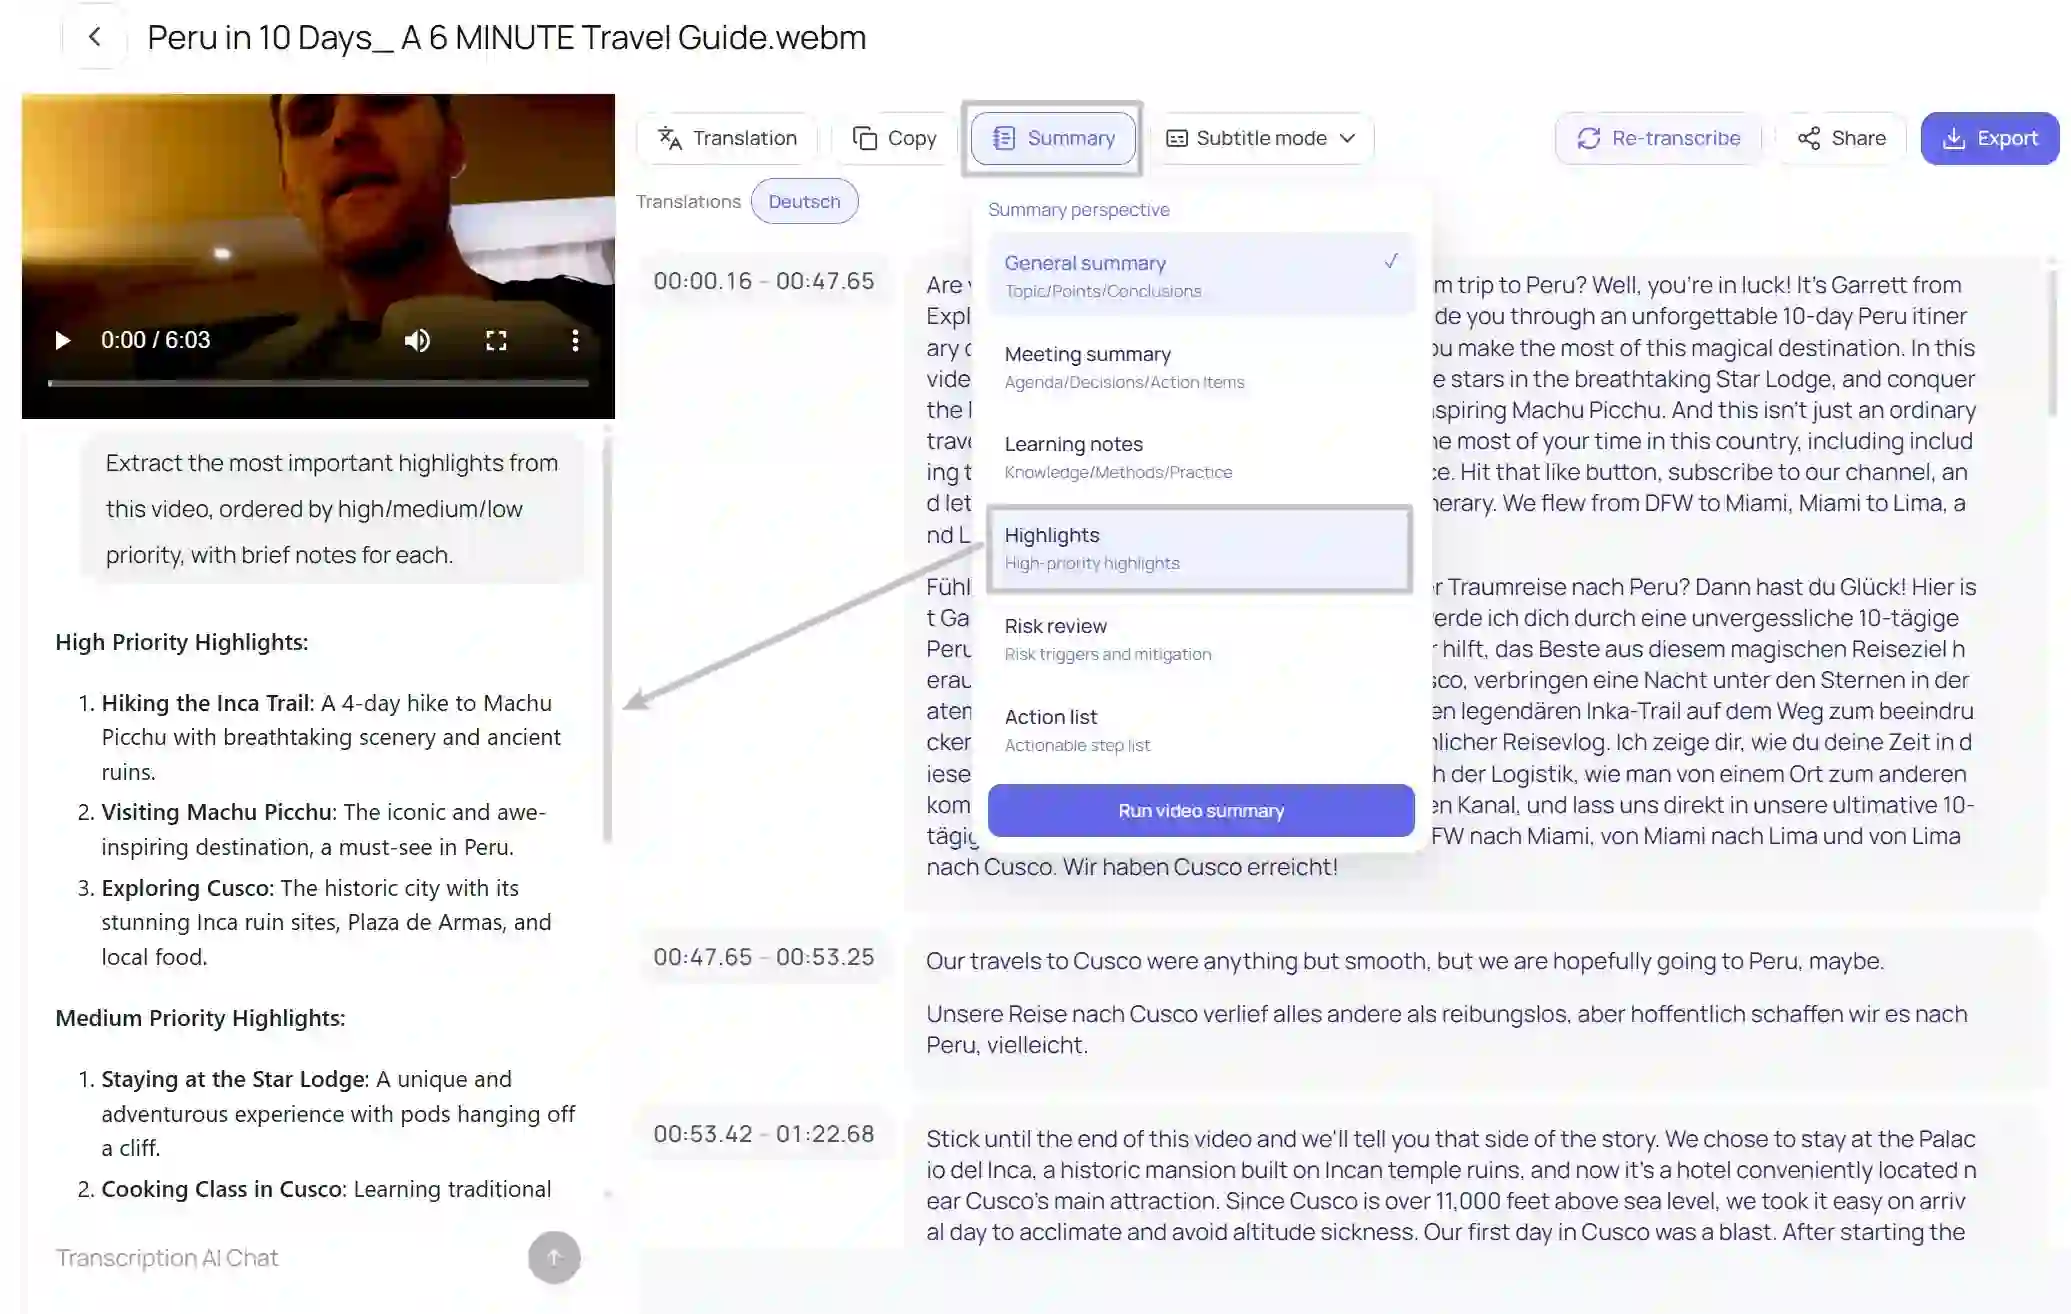
EasyScribe offers several summary templates for different needs. These include General Summary, Meeting Summary, Learning Notes, Highlights, Risk Review, and Action List. You can choose the template that fits your content best, then generate a summary in just a few clicks. This saves time and helps you avoid writing everything by hand.
You can also use the AI Chat feature to talk directly with AI and get the answers or information you need much faster. Instead of reading through long transcripts or listening to the same recording again and again, you can simply ask questions and get clear, relevant responses based on your content.
Export or Share the Final Output
After you finish editing your transcript, you can export it directly as a TXT file. This is useful if you want to save the content locally, reuse it later, or turn it into other written materials.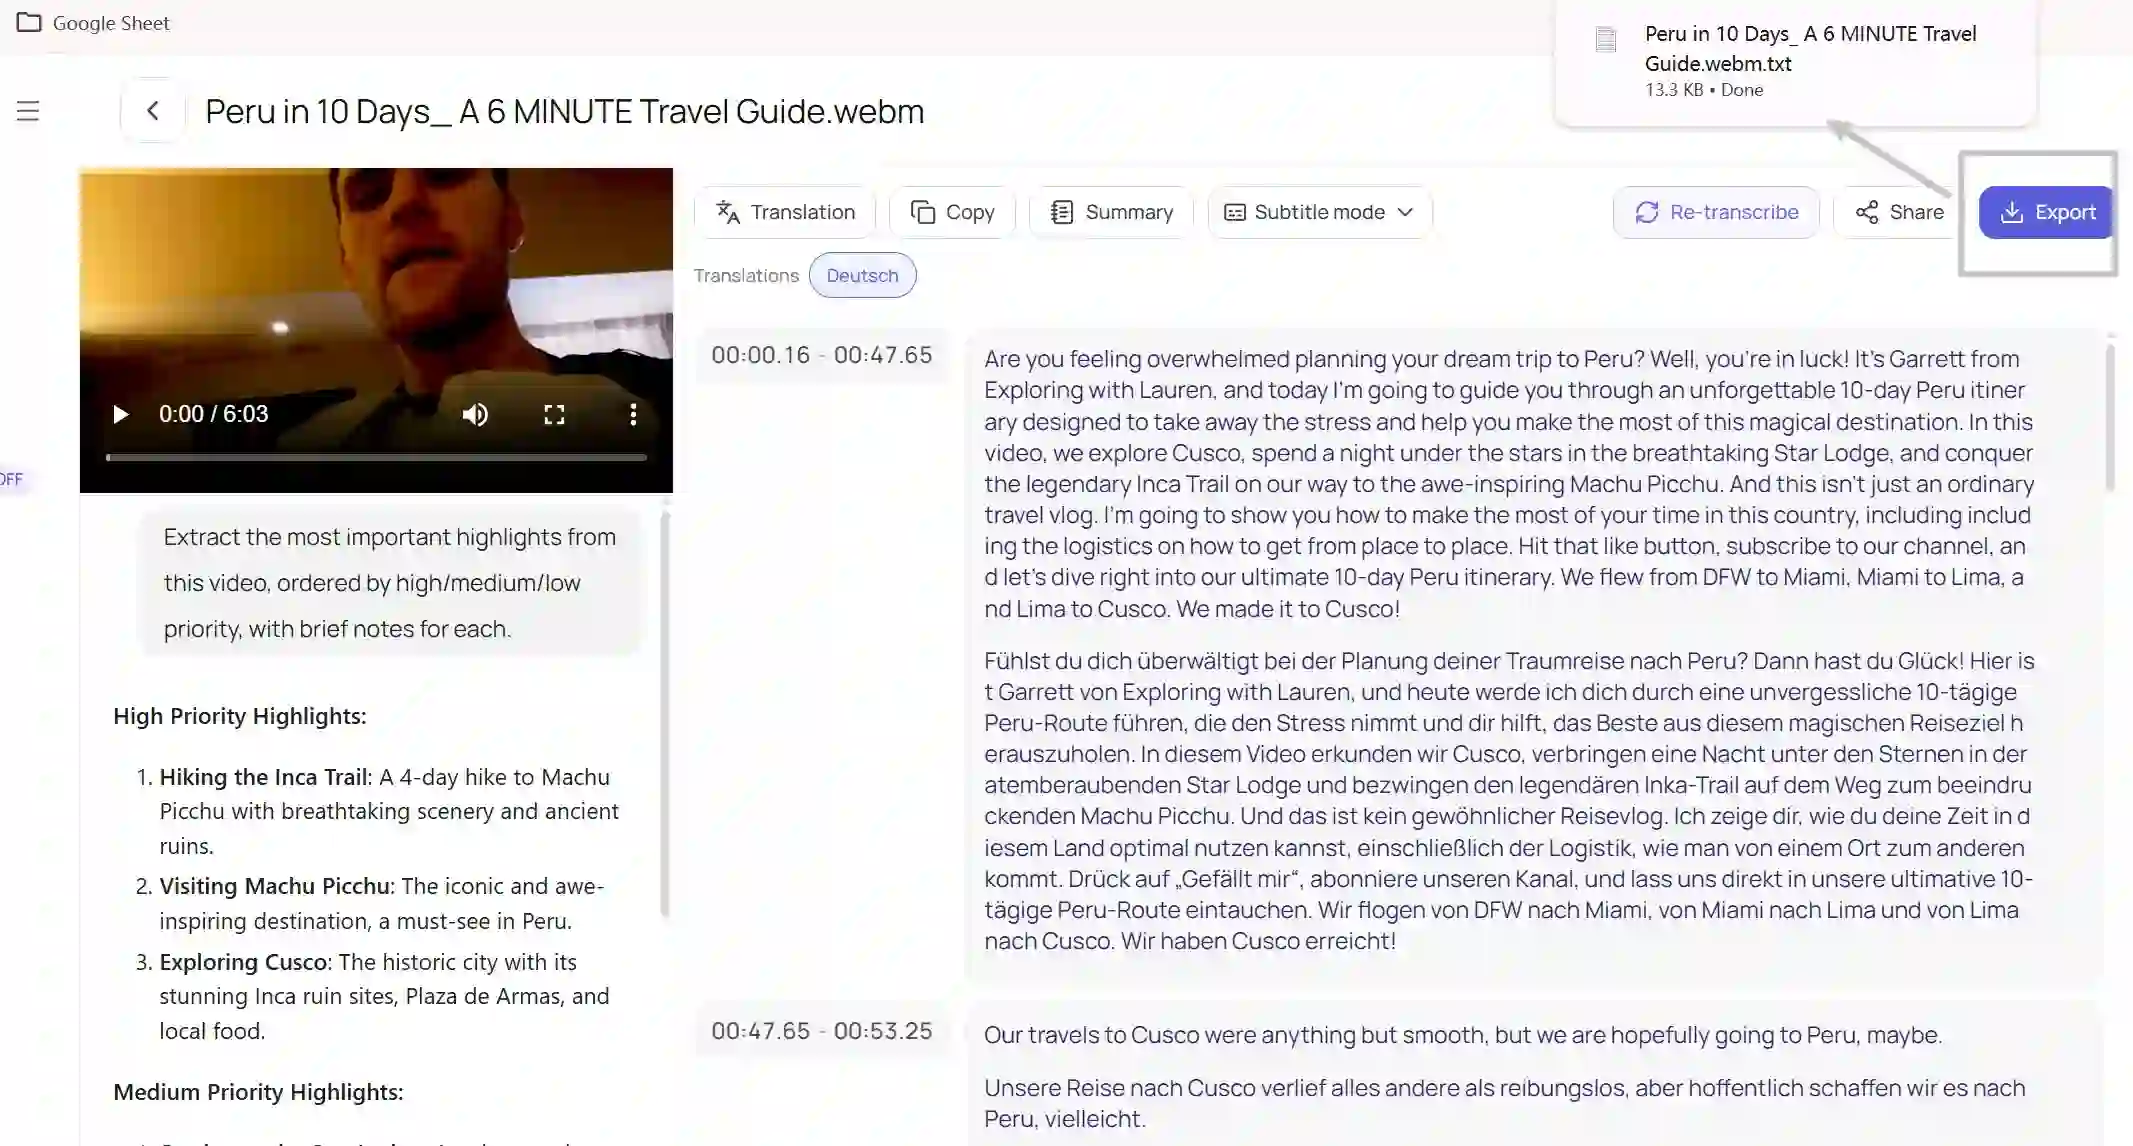
You can also share the edited transcript directly on social platforms. This gives you a simple way to publish or send your content without copying and pasting everything manually.
Related Article: How to Download Transcript From YouTube (FREE)